Cart Empty
Continue ShoppingItem duplication techniques have historically been a highly sought-after exploit among players looking to bypass the intense grind of extraction shooters. In Arc Raiders, early system vulnerabilities briefly allowed squads to duplicate high-value equipment, currency, and rare blueprints. However, reliable duplication methods are completely non-viable today due to rapid server-side patches and aggressive anti-cheat architecture deployed by Embark Studios.
Attempting to utilize legacy duplication scripts, third-party software, or active network-manipulation exploits will trigger a permanent hardware ID (HWID) ban. Embark Studios logs inventory anomalies automatically on the server backend.
Before the developers isolated the inventory synchronization vulnerabilities, the community discovered specific mechanical oversights that allowed duplication. Understanding these historical methods outlines how the current secure system prevents exploit retention:
| Glitch Strategy | Mechanic | Patch Phase |
|---|---|---|
| Inventory UI Split | Exploited stackable throwables (e.g., Familiar Ducks). Players forced a command loop by right-clicking to split a stack inside the inventory menu while simultaneously mapping it to an active quick-use slot, triggering endless item generation. | Server-side validation added to item splitting routines. |
| Network Manipulation | Leveraged localized lag switches or mobile hotspots. Toggling network state while spamming the "use" key desynchronized client actions from server status, creating duplicate entities upon reconnection. | Asynchronous lag-compensation disabled for consumable item validation. |
| Backpack Gun Swapping | Interrupted the weapon recycling queue. Rapidly dragging heavy firearms (like the Bobcat) into weapon slots occupied by active or temporary consumables broke inventory registers, returning both items. | Inventory lockouts enforced during recycling sequences. |
To preserve the economy of the Buried City, Embark Studios introduced a multi-tier countermeasure system targeting players who successfully executed duplication glitches prior to the patches or attempted to bypass current restrictions:
Earning Raider Coins efficiently in Arc Raiders determines how quickly you can upgrade your gear, purchase high-tier items, and unlock specialized tech blueprints. While taking fully modded, expensive loadouts into high-threat zones is thrilling, it risks depleting your stash.
The most consistent economic loop relies on maximizing your value-per-slot while minimizing your entry costs. This guide breaks down the absolute fastest, zero-risk methods to stack coins using optimized extraction routes, passive base management, and intelligent inventory prioritization.
The core principle of a Naked Run (or Zero-to-Hero run) is simple: you deploy into a match completely empty or with a free baseline loadout (e.g., Mk1/Mk2 baseline gear). This layout relies on leveraging your Safe Pocket to guarantee pure profit.
[Spawn Empty / Free Gear] ➔ [Sprint to High-Density Loot POI] ➔ [Secure High-Value Trinket/Blueprint in Safe Pocket] ➔ [Extract or Surrender]
While these in-game farming loops are highly effective, relying solely on RNG to drop the exact high-tier recipes you need can slow down your progression. If you want to bypass the repetitive grinding and instantly upgrade your arsenal, the most reliable shortcut is to secure your gear directly through our platform. Skip the risk of losing loot to extraction campers and buy arc raiders blueprints from our marketplace today to unlock top-tier weapons like the Tempest or Vulcano instantly, allowing you to dominate your next raid fully geared.
To maximize your coins per hour, you need to run highly repetitive, optimized routes that position you near quick extraction points.
| Map & Route | Core Target POI | Primary Loot Focus | Estimated Coin Yield | Risk Level |
|---|---|---|---|---|
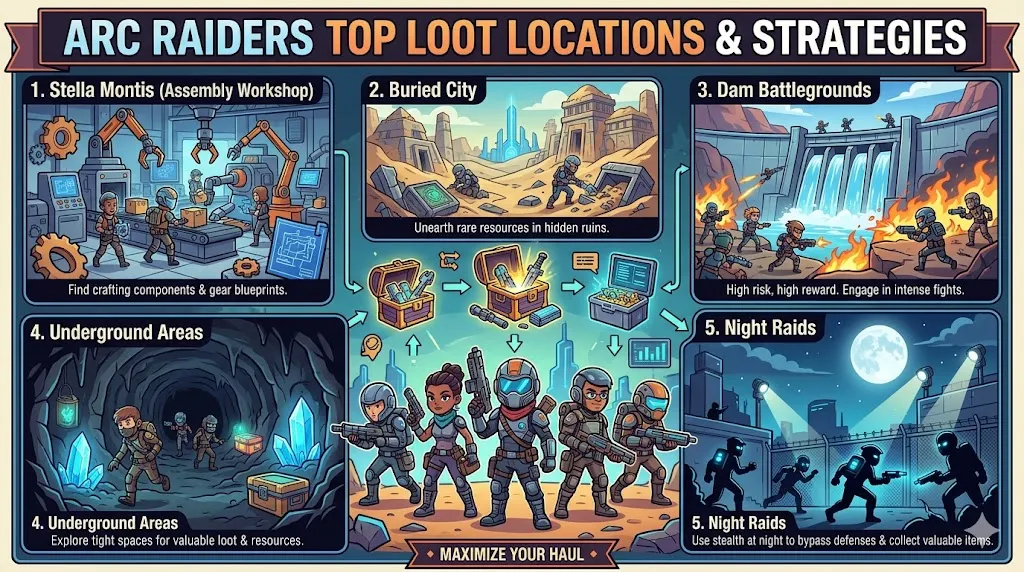
| Buried City: Library Loop | Northern Library / Marano Park | Old World Relics, Books, Lockers | 15,000 – 30,000 | Low (Great for Beginners) |
| Dam Battlegrounds: R&A Sweep | Research & Administration (Mid-Floor) | Office Desks, Intel Items, Courier Pods | 30,000 – 60,000 | Medium (Watch for AI Patrols) |
| Stella Montis: Assembly Workshop | Workshop & Medical Center | Pink Rarity Tech Gear, Rare Components | 50,000 – 80,000 | High (PvP Hotspot) |
This is widely considered the safest and most reliable circuit for solo players and beginners looking to establish a financial baseline.
If you want the highest density of currency-generating items per room, the R&A building is unmatched.
This is an advanced high-risk, high-reward run tailored for swift players.
Many players completely overlook Scrappy, the mechanical rooster located in your base quarters. He isn't just a cosmetic feature—he acts as a passive resource engine that operates while you are out deploying on runs.
[Gather Fruits in Raids] ➔ [Feed Scrappy at Base] ➔ [Scrappy Passively Generates Mats & Seeds]
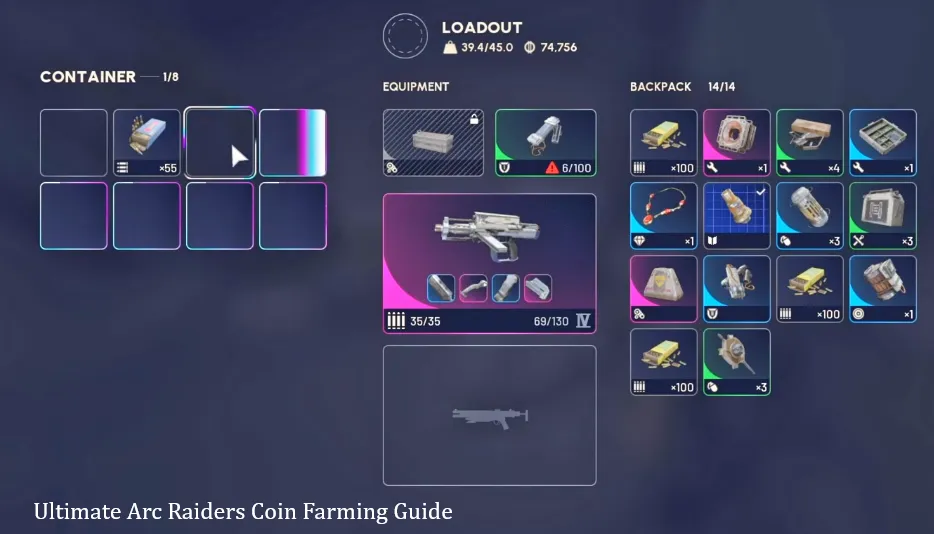
Backpack space and weight limits are your tightest constraints during a raid. To maximize your coin generation without halting your character progression, use this strict filter before deciding to extract an item:
Any item marked with a distinct Diamond Icon in your inventory is categorized as a Trinket (e.g., Old World Relics, Antique Coins, Retro Electronics). These items have absolutely zero crafting utility. They exist solely to be liquidated. Always prioritize them over raw crafting components of similar weight. Use the item tooltip's vendor price to evaluate value-per-slot efficiency before picking them up.
Check in with Ermal (the Nomadic Envoy) regularly. He routinely buys specific top-side components and gear sets at premium rates compared to generic vendors. Selling targeted items to the correct vendor prevents coin stagnation.
Never sell Polymers or Assorted Seeds for quick cash. While they take up space, they are mandatory for end-game weapon crafting and high-tier gear modifications. Farming them back retroactively is incredibly time-consuming if you sell them off early.
If your inventory fills up with low-value, bulky gear items mid-raid, use the breakdown feature to dismantle them into raw crafting materials. Materials stack cleanly within a single inventory slot, freeing up weight and physical room for high-value trinkets or rare blueprints you might find near your extraction zone.
The U4N Editorial Team is made up of dedicated gamers and technical experts. We're not just a trusted marketplace for game assets—we're all about empowering players with top-tier, expert-driven content. Our team produces in-depth guides, strategies, and technical fixes for some of the biggest games out there, like MLB The Show 26, Aion 2, Forza Horizon 6, Arc Raiders, and Path of Exile.
Whether it's mastering market flipping in Diamond Dynasty or optimizing your endgame builds, all of our strategies are tested and proven by in-house experts. At U4N, we don't just follow the meta—we help you stay ahead of it.