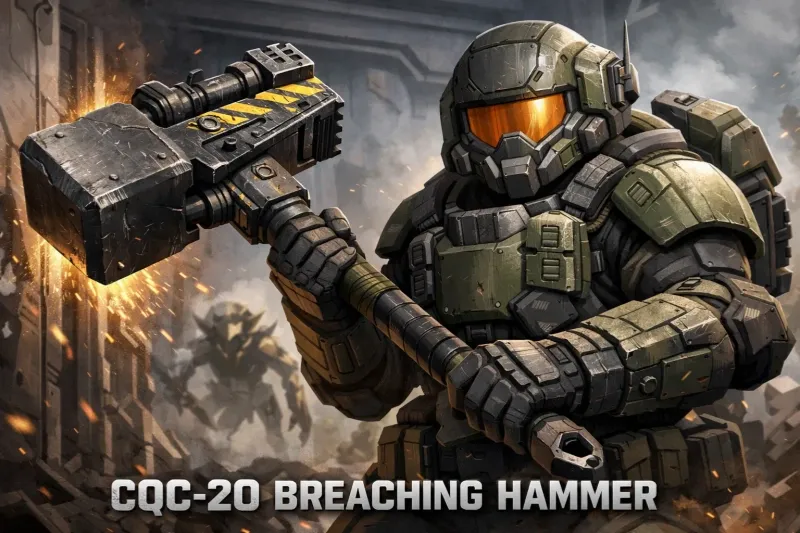
The CQC-20 Breaching Hammer is a stratagem-level melee support weapon in Helldivers 2, introduced in the Siege Breakers Warbond. It functions as a powerful anti-tank tool that uses explosive charges to deal massive damage at point-blank range.
Key Stats & Mechanics
- Ammunition: It comes with 7 explosive rounds that deal roughly 2,000 damage per hit (similar to an EAT-17).
- Ammo Efficiency: Each standard ammo pickup restores 3 explosive charges.
- Melee Option: It can be swung without charges for lower damage, which is effective for clearing small enemies without wasting explosives.
- Safety: The hammer's splash damage does not harm the wielder, though secondary explosions from targets (like Hulks) still can.
Effectiveness by Enemy
- Chargers: Kills in 2 hits anywhere, or 1 hit if striking the rear.
- Hulks: Typically one-shots them from the front.
- Bile Titans: Possible to kill in 3-4 leg strikes or a single face strike if used with a Jump Pack for height.
- Structures: Can destroy Automaton Fabricators, tanks, and even Overseers in a single hit.
- Factory Striders: Can be taken down in roughly 2 to 4 hits to the legs.
Usage Tips
- Pair with Shields: Because it requires you to be in melee range, many players recommend using it with a Ballistic Shield or Shield Generator Pack to survive the approach.
- The "Breaching" Misnomer: Despite its name, some players have noted it cannot easily "breach" certain environmental walls like C4 can.
Breaching Hammer Loadout
The CQC-20 Breaching Hammer, introduced in the Siege Breakers Warbond, is a stratagem-level melee weapon that deals heavy explosive damage. Because it requires getting close to dangerous targets, your loadout must prioritize mobility, sustain, and survivability.
Core Stratagems
- CQC-20 Breaching Hammer: Your primary anti-heavy and objective-clearing tool. It can one-shot Automaton Fabricators and heavily damage Chargers or Tanks.
- Supply Pack (Recommended): Essential for providing more explosive charges for the hammer and extra stims to survive close-quarters combat.
- Mobility Options: Jump Pack: Best for verticality and jumping behind heavy enemies like Chargers. Warp Pack: Offers consistent distance closing, though it is "louder" than the Jump Pack for stealth approaches.
- Orbital/Eagle Support: Use Orbital Smoke or Gas Strikes to blind enemies, allowing you to close the distance safely before striking.
Recommended Armor & Passive
- Siege Ready (Passive): Often found on new armor in the Siege Breakers Warbond, this passive enhances the hammer's efficiency, though some players prefer Fortified Heavy Armor for the explosive resistance when fighting bots.
- Experimental Infusion (Booster): Highly recommended to increase movement speed and damage reduction while using stims.
Primary & Secondary Weapons
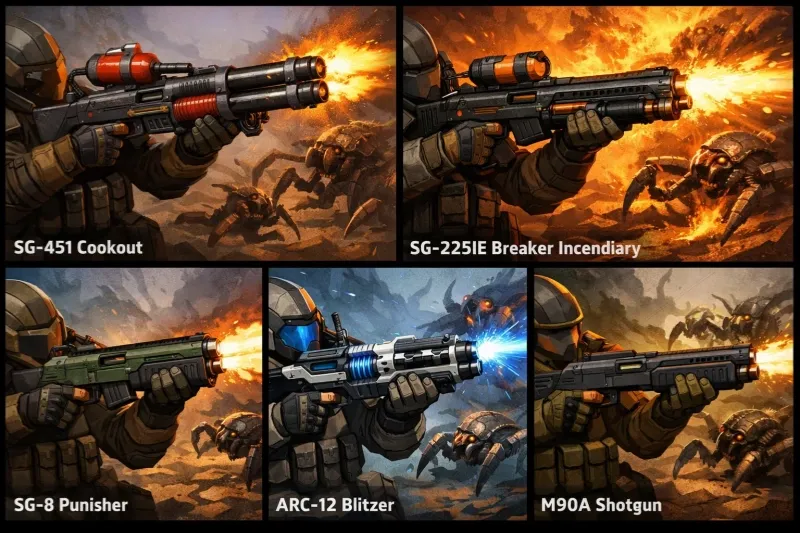
- Primary: Use something for crowd control or range to cover the hammer’s weakness. The Sickle or Trident are popular for clearing light mobs.
- Secondary: The Ultimatum is a strong choice when paired with a Supply Pack to manage its high ammo consumption.
- Grenade: Thermite Grenades help soften up heavy targets that are too dangerous to approach immediately.
Recommended "Clanker Spanker" Build
To maximize the hammer's potential, use a loadout that compensates for its limited charges and high-risk playstyle:
- Backpack: Supply Pack. Essential for refilling the hammer's 7–8 explosive charges.
- Armor: Heavy Armor with Fortified or Siege Ready. Fortified provides explosive resistance to help survive your own hammer blasts and incoming rockets. Siege Ready (or other melee-buffing passives) increases non-explosive swing damage, though recent patches have adjusted these values.
- Primary Weapon: SG-8P Punisher Plasma or R-36 Eruptor. Staggers enemies to let you close the distance for a hammer strike.
- Secondary/Grenade: P-11 Stim Pistol & Gas/Stun Grenades. Use Stun Grenades to freeze Hulks in place before a finishing blow. Gas Grenades provide crowd control for smaller units.
- Stratagems: Eagle 110mm Rocket Pods & Gatling Barrage. Rocket Pods handle structures the hammer can't reach, while Barrages clear chaff so you can focus on elite targets.
Combat Tips
- Dive Swing: Diving forward while swinging increases your reach and can help you avoid a Flame Hulk's reach.
- Charge Management: The hammer has two modes. It uses an explosive charge by default; once empty, it functions as a heavy melee weapon with lower damage.
- Ragdoll Warning: Killing a large enemy with the hammer often triggers a 10-meter explosion that will ragdoll you.
About the Author
The U4N Editorial Team is made up of dedicated gamers and technical experts. We're not just a trusted marketplace for game assets—we're all about empowering players with top-tier, expert-driven content. Our team produces in-depth guides, strategies, and technical fixes for some of the biggest games out there, like MLB The Show 26, Aion 2, Forza Horizon 6, Arc Raiders, and Path of Exile.
Whether it's mastering market flipping in Diamond Dynasty or optimizing your endgame builds, all of our strategies are tested and proven by in-house experts. At U4N, we don't just follow the meta—we help you stay ahead of it.