Whether you're a newcomer or a seasoned racer in Forza Horizon 6, Japan's sprawling open world offers endless roads, scenic landscapes, and hidden rewards. Mastering progression, maximizing credits, and building your dream garage takes more than just driving—it requires strategy. Here's a guide with practical tips to get the most out of your FH6 experience.
Progression & Exploration Strategy
Pick the Right Starter
Your choice of starter car can shape early gameplay. If you want to focus on drifting, the Nissan Silvia K is perfect for learning tight turns. The Toyota Celica offers a balanced performance for races and exploration, while GMC trucks are excellent for off-road challenges and rugged terrain.
Play With Purpose
Avoid aimless cruising. Focus on events that give Horizon Festival Points, which help level up wristbands and unlock story progression. Completing narrative chapters and side quests accelerates your rewards.
Earn Stamps & Unlockables
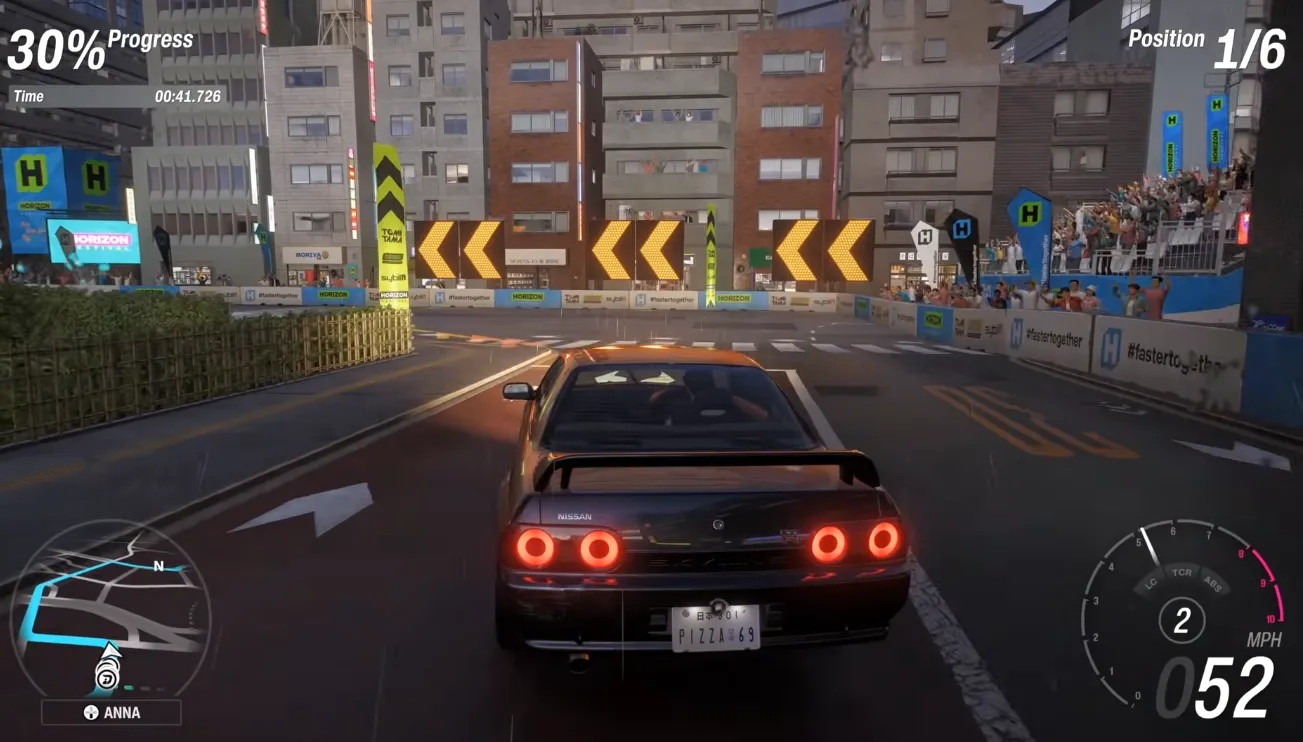
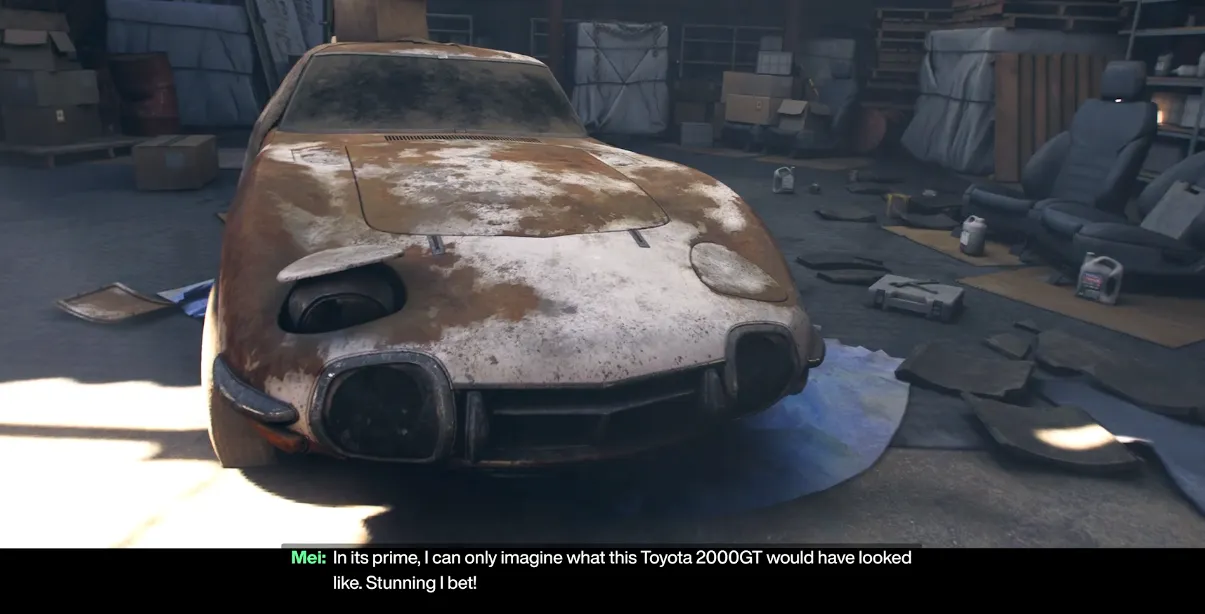
Discovering landmarks and finishing side stories boosts your Discover Japan points. These points unlock barn find hints and new houses for purchase. Use the drone mode to pinpoint the 14 Barn Finds and 9 Treasure Cars without driving aimlessly.
Spot Hidden Paths
Carefully examine dirt tracks and tiny unmarked roads on your map; these often lead directly to hidden barns or secret collectibles. Free map travel allows instant movement to any discovered location, so take full advantage.
Economy & Car Collection Optimization
Smart Purchasing
Avoid buying cars at full price from the standard Autoshow early in the game. Instead, hunt for green map icons marking Aftermarket Cars. These are pre-tuned, discounted, and come with cosmetic upgrades like body kits.
Maximize Wheelspins & XP
At the start of each race, snap a quick photo with the Promo Quickshot feature for instant XP. Clear cheap clothing and horn items from the store to improve RNG odds for Wheelspins. Regularly check the Auction House to find player listings at discounted rates.
Difficulty & Skill Point Farming
Increase Credit Rewards
Turn off full driving lines (leaving braking cues only) and raise Drivatar difficulty to boost credit multipliers up to 125% per race.
Drag Meet Tricks
Use the handbrake launch in Drag Meets: engage the handbrake, rev your car, and release precisely when the final light turns green. Timing is key for optimal acceleration.
Exploit Car Mastery
The Subaru 22b STi is a cheap and highly effective vehicle for skill point farming. Its Car Mastery tree includes a 9x skill chain multiplier that can generate massive points quickly. Spend banked skill points on vehicles with multiple Super Wheelspins in their unlock paths to maximize cash flow.
To dive deeper into the mechanics, master advanced cornering physics, drift point multipliers, and fine-tuning configurations.
Advanced Driving & Racing Physics
- Master trail braking: Brake hard in a straight line, then gently release the brake pedal as you turn in to keep weight on the front tires for maximum grip.
- Avoid downshift braking: Dropping gears too early revs the engine past the redline, which locks the rear wheels and causes uncontrollable sliding.
- Turn off stability control: Disabling STM and TCS allows you to slide your car intentionally, which is vital for maintaining speed through hairpin turns.
- Squeeze the throttle: Roll your finger onto the accelerator trigger gradually when exiting corners rather than smashing it down to prevent wheelspin.
- Draft the straightaways: Tuck tightly behind leading Drivatars on long straightaways to reduce air drag and gain a massive speed boost.
High-Yield Skill Points & Drifting
- Target the neon signs: Hit street signs and glowing storefront props during a skill run to trigger "Wreckage" combos without breaking your momentum.
- Chain Ebisu jumps: Head to the mountain circuits and land sideways over crests to combine "Air" and "Drift" scores into massive point multipliers.
- Initiate with clutch kicks: If you drive manual with clutch, tap the clutch button while holding the accelerator to instantly kick the rear end out.
- Keep the angle shallow: Speed rewards more drift points than an extreme sideways angle, so focus on fast, fluid transitions over huge slides.
- Bank points early: Break your combo manually by stopping the car once you hit 500,000 points, as the game caps skill point rewards at 10 points per chain.
Upgrade & Tuning Frameworks
- Prioritize tire compounds: Always upgrade your tires first, as horsepower means nothing if your car cannot transfer that power to the asphalt.
- Lower tire pressure: Drop tire pressure by 2 to 3 PSI on rainy tracks to increase the rubber contact patch and gain massive wet weather grip.
- Soften the rear springs: If your car spins out when you accelerate out of a turn, soften the rear spring stiffness to transfer weight to the back.
- Stiffen front anti-roll bars: Reduce body roll during quick, aggressive lane changes by stiffening the front anti-roll bars while leaving the rear loose.
- Build AWD for off-road: Convert any cross-country or dirt racing build to All-Wheel Drive to ensure maximum traction on loose soil and mud.
To completely master the map and optimize your campaign performance, you must understand progression locks, aerodynamic balancing, and region collectibles.
Map Optimization & Campaign Milestones
- Unlock the Festival Playlist early: Complete the mandatory initial drive and the first qualifier event to secure your yellow wristband, which grants immediate access to live seasonal events.
- Aim for the Gold Wristband: Prioritize standard racing events and regional exploration to level up your wristband color tier, which is required to unlock Legend Island.
- Unlock the "Big Three" final races: Reaching Legend Island automatically opens up the three longest endgame tracks: The Goliath, The Titan, and The Colossus.
- Ignore collectibles at the start: Do not waste time hunting for mascots or XP boards in the first few hours; these icons are locked and will only display on your map as you clear introduction races.
- Track completion by region: Open the world map and press Left (LB) to view the region tracking screen. Reaching 100% exploration in a specific zone drops unique Treasure Cars and hidden story threads.
- Save your car vouchers: Avoid burning your limited car vouchers on vehicles you can easily win or buy cheaply; hold onto them exclusively for rare hypercars that cost millions of credits.
Aerodynamics & Downforce Tuning
- Balance your Aero ratio: When building circuit or time attack cars, adjust your front and rear wing sliders until the aerodynamic telemetry reads between 0.40 and 0.45.
- Stiffen the front for turn-in: Keeping the aero calculation on the higher end of that spectrum (closer to 0.45) applies more downforce to the nose, maximizing high-speed front grip.
- Sacrifice top speed intentionally: High downforce creates severe aerodynamic drag. Max out your wings for winding track layouts, but drop them low for straight sprint courses to ensure maximum acceleration.
UI & Quality-of-Life Customization
- Activate the Proximity Radar: Turn on the newly added proximity radar in the settings menu to see exactly how close rival cars are to your quarter-panels during tight multiplayer cornering.
- Use the photo shortcut anywhere: Do not limit photography to race starts. Tap Up on the D-pad to snapshot other players in free roam or at public Car Meets to farm passive XP bonuses.
- Enable Auto-Drive for exploration: If you want to unlock roads while away from your controller, turn on the Auto-Drive accessibility setting to let the AI cruise around Japan for you.
To turn your driving into a masterclass, you need to understand the Horizon Play meta, advanced gear tuning, and the Estate farming system.
Horizon Play Multiplayer Tactics
- Farm passive Wristband Points: Engaging in Horizon Play multiplayer grants you unique XP. Reaching up to level 25 in multiplayer directly transfers over to give you Horizon Festival Points, rapidly advancing your single-player campaign wristbands.
- Block overtake lanes: In tight street races, watch your Proximity Radar UI element closely. If a rival attempts to slide inside your quarter-panel, aggressively alter your line to block them; the game does not penalize defense.
- Max out your delivery shifts: When completing the Food Delivery driver jobs, finish the maximum number of shift tasks. Even if you fail to hit 3-star times, finishing the full volume of shifts yields massive promotional credit bonuses.
Precision Gearing & Alignment Tuning
- Abuse Final Drive scaling: If gear-ratio charts confuse you, focus entirely on the Final Drive slider. Pull it toward the acceleration side until your top gear barely redlines at the end of the map's longest straightaways to stay perfectly in your power band.
- Lengthen lower RWD gears: If your Rear-Wheel Drive builds spin out wildly off the starting line, stretch your 1st and 2nd gear sliders out further to give you significantly smoother throttle control.
- Drop the default camber: The stock camber values applied to upgraded suspension are usually too high. Drop overall camber closer to zero to keep a flat tire contact patch on the asphalt, giving RWD cars a slight front-camber bias for tighter turn-in response.
- Use Toe settings sparingly: Avoid extreme Toe adjustments. Apply a fraction of a degree of Toe Out on the front tires to make your steering hyper-responsive, or Toe In on the rear to stabilize a tail-happy car.
The Community Estate Exploit
- Buy an Estate blueprint: Go to your Horizon menu, select "My Estates," and click Browse Community Estates.
- Download the 500k meta track: Use the exact search function to enter the community share code: 127 037 763.
- Purchase and farm: This specialized map setup costs roughly 420,000 CR to construct. Once built, it spawns a highly compressed obstacle route optimized to let you max out your 500,000 Skill Point chains in under a minute.